Hello Friends,
I made an easel card for my eldest son's birthday, which is this Saturday. He never looks at my blog so I think I'm pretty safe to post this now.
I am going to show you pictures of my process in this design and explain with as few words as possible.
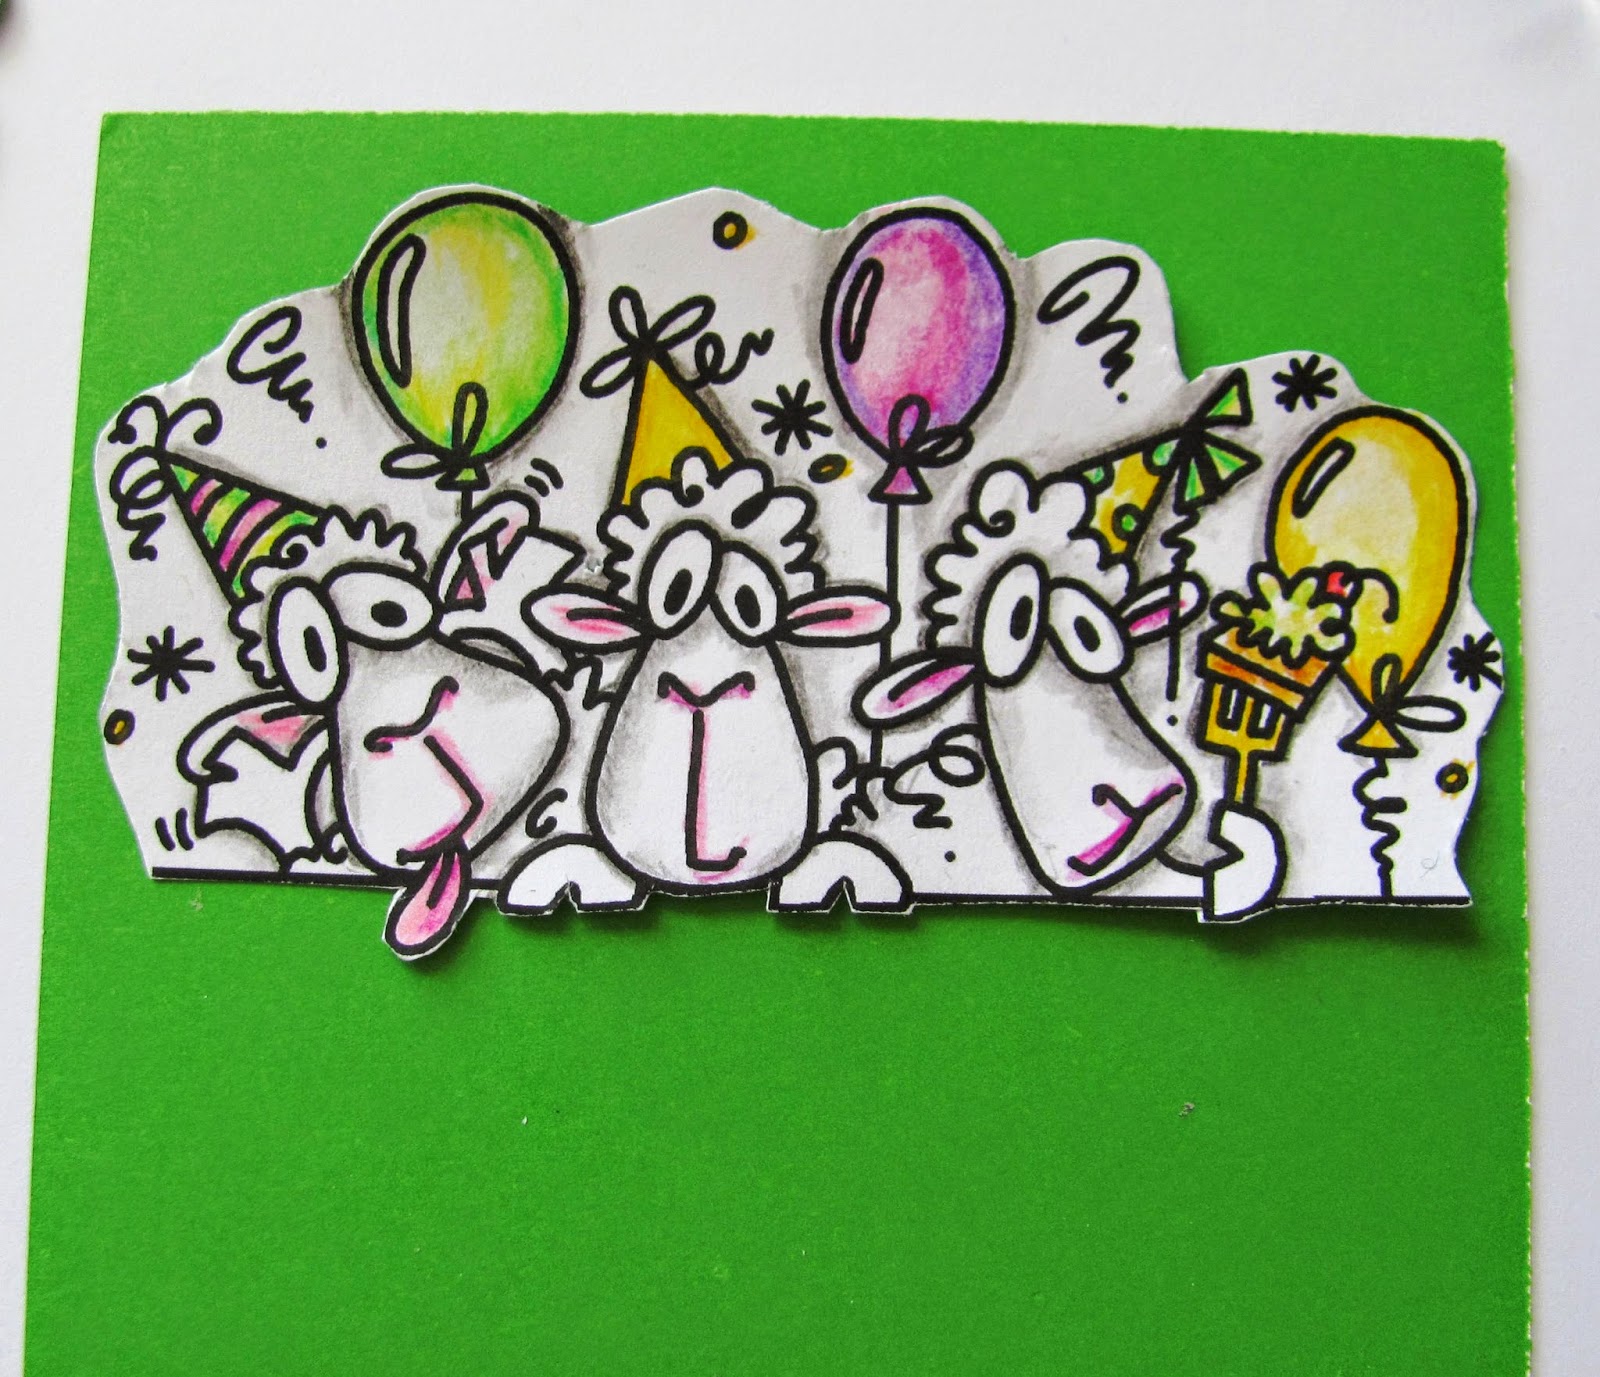
I started with a set of Bugaboo images that I dressed up with water colour pencils. I cut out the circle sentiment with my circle punch and die cut 2 scalloped circles from green card stock.
I held the main image onto green card stock and cut around it, slightly larger, but did not glue it down.
I cut a piece of thin gauge wire to suspend my circle sentiment above the card front like a balloon on a string.
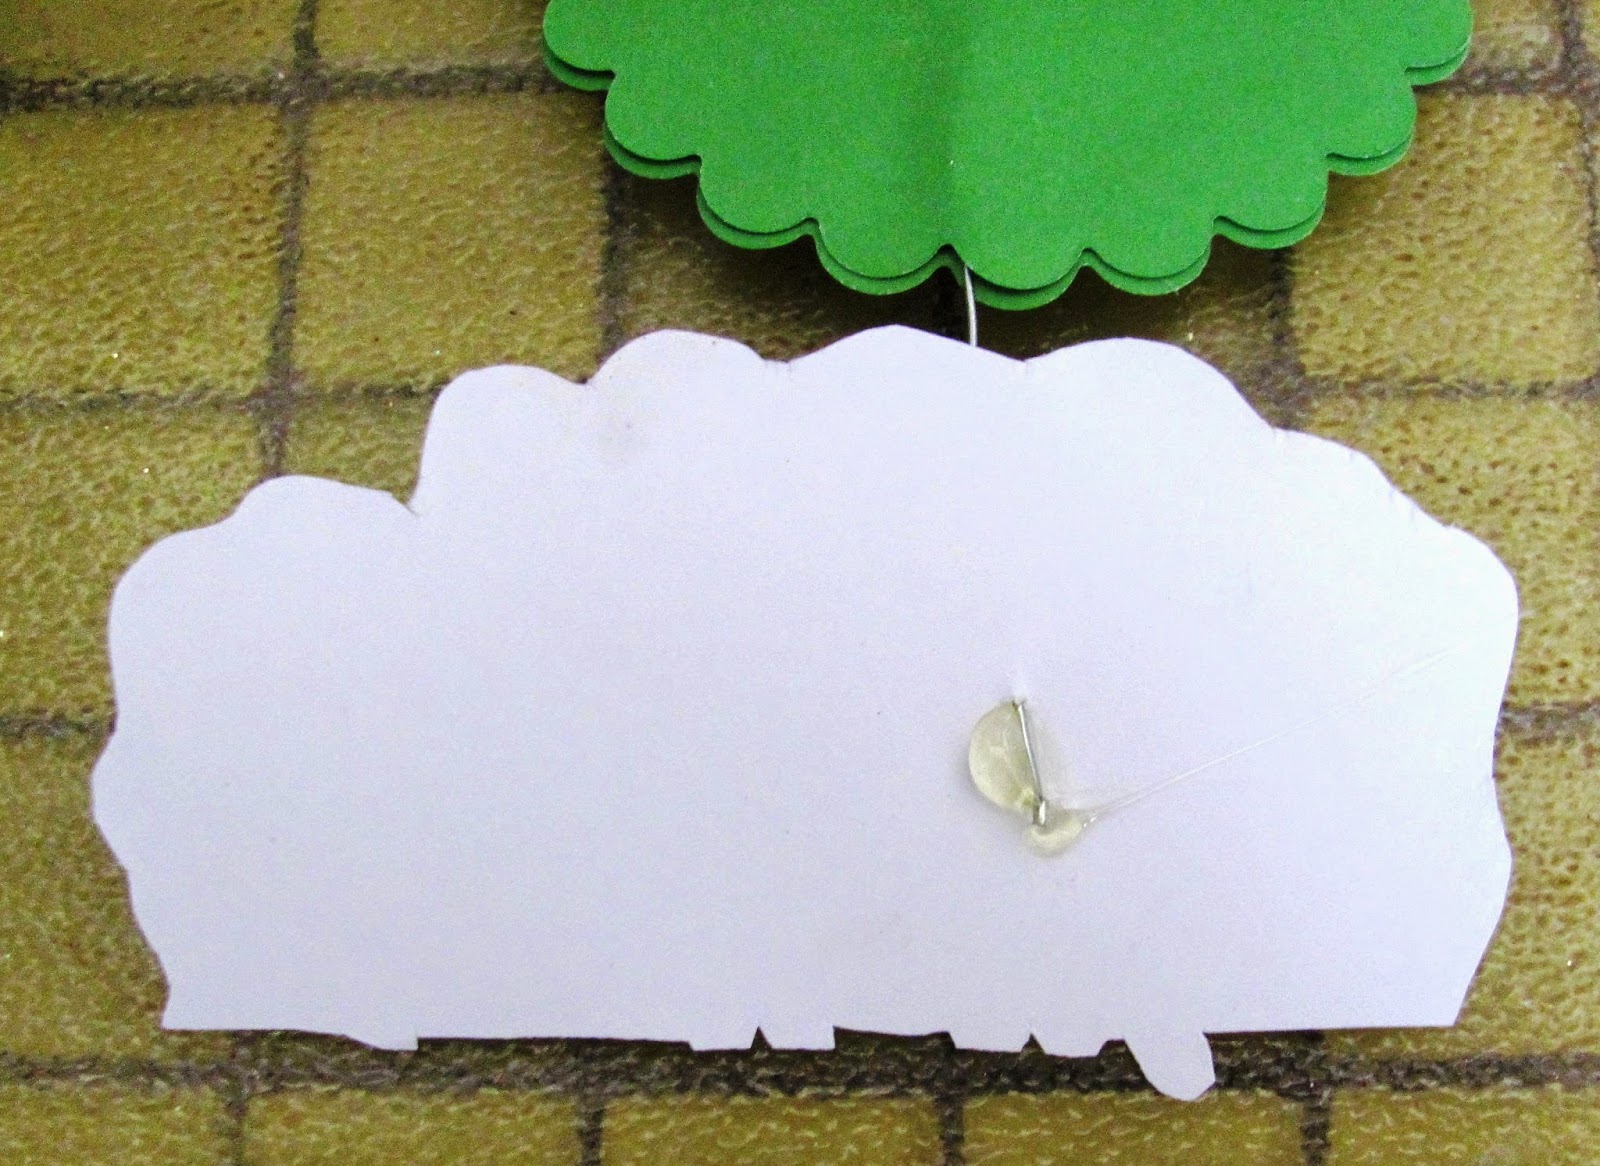
I hot-glued the wire to the back of the scalloped circle with the sentiment.
Then I hot-glued the two scalloped circles together, sandwiching the wire between them.
Next I poked a hole in my main image where I wanted to insert the wire with the circle sentiment. I used a push pin.
I poked the wire into the hole and hot-glued it at the back.
At first I tried to hot-glue the green card stock to the back of the main image, but that was a mistake. I pull off as much of the glue as I could and decided to use my Aleene's Tack Glue. (love that stuff)
I wanted the main image to look like the sheep were leaning over this chipboard fence. I laid the fence along the bottom of the easel card base and placed my image just so. I lightly penciled along the bottom of the image since I would have to glue that first and then my fence.
Here is another sentiment from the set. I popped it up to hold the easel card in place, but decided I wanted a little something extra to make the card sit up a little straighter. This crocheted rose reminded me of a wooly sheep and, since I don't have to mail this card, I wasn't concerned about trying to mail a bulky design. I added three bobbles to complete the design.
I made an easel card for my eldest son's birthday, which is this Saturday. He never looks at my blog so I think I'm pretty safe to post this now.
I am going to show you pictures of my process in this design and explain with as few words as possible.
I held the main image onto green card stock and cut around it, slightly larger, but did not glue it down.
I cut a piece of thin gauge wire to suspend my circle sentiment above the card front like a balloon on a string.
I hot-glued the wire to the back of the scalloped circle with the sentiment.
Then I hot-glued the two scalloped circles together, sandwiching the wire between them.
Next I poked a hole in my main image where I wanted to insert the wire with the circle sentiment. I used a push pin.
I poked the wire into the hole and hot-glued it at the back.
At first I tried to hot-glue the green card stock to the back of the main image, but that was a mistake. I pull off as much of the glue as I could and decided to use my Aleene's Tack Glue. (love that stuff)
I wanted the main image to look like the sheep were leaning over this chipboard fence. I laid the fence along the bottom of the easel card base and placed my image just so. I lightly penciled along the bottom of the image since I would have to glue that first and then my fence.
Here is another sentiment from the set. I popped it up to hold the easel card in place, but decided I wanted a little something extra to make the card sit up a little straighter. This crocheted rose reminded me of a wooly sheep and, since I don't have to mail this card, I wasn't concerned about trying to mail a bulky design. I added three bobbles to complete the design.
And here is the completed card.
Side View
And folded flat. Well, as flat as it can be with that honking big flower on it. :)
Thank you for visiting my blog. I really appreciate you taking the time to drop by and see what I have been doing.
Blessing hugs,
Teresa
Challenges:
The Outlawz Paper A La Mode - Make an easel card
Word Art Wednesday - anything goes
Simon Says Monday Challenge - B is for (Baaaa)
613 Avenue Create - anything goes/optional twist
Dragonfly Dreams - add some embellishments
Lil Patch of Crafty Friends - anything goes
Pile It On - Go Green


12 comments:
What a gorgeous card, Teresa, you have made it very well. Thanks for showing how you did it! Hugs, Valerie
This is so fun Teresa. Just love those sheep peeking over the picket fence and your gorgeous crochet flower is the perfect touch.
Hugs
Desíre
{Doing Life – my personal blog}
Back with my DT hat on:
Teresa this is a wonderful creation with great attention to detail and perfect for our ‘ANYTHING GOES’ challenge. Thanks for sharing your talent with us. Good luck.
Hugs
Desíre
{Lil Patch of Crafty Friends DT Member}
{Doing Life – my personal blog}
Happy Birthday to your son, Teresa, and that's an incredible card! Love your step-by-step and creativity when it came to putting everything together. Lovely crocheted flower.
This is cute.. love green colour.. <3 Thank you for sharing your talent with us at Lil Patch of Crafty Friends challenge # 5.. Hope to see you again in our next challenge.. And Good Luck at the draw ;)
hugs,
~RoRa
Great card, love the flower at the front x
Oh, Teresa, this turned out so cute! Love the fun little scene you created! That crocheted flower is the perfect finishing touch! :^)
Hugs, Penny
The images are cute and the design is so fun with the circle on the top of the easel! Thanks for playing along with us at Simon Says Stamp Monday Challenge!
Oh my goodness - this is so cool! Thanks for showing the process too :-)
Such a fun card and wonderful step by step! Thank you so much for sharing your project and for joining us over on the Simon Says Stamp Monday Challenge Blog! :)
Wow, what a fun card!! This is too cute! Thanks so much for sharing with us at Word Art Wednesday! :)
such a fabulous card you have made Teresa. I love the fun aspect of it.
Thank you for sharing with us at Dragonfly Dreams, hope we see you again
soon...
Love and Hugs ~ Lady Anne xx
Dragonfly Dreams Anne's Paper Dream's
BlogLady Anne's Paper Dreams Blog
Lady Anne's Paper Dreams Blog
Post a Comment